Making your own colored sanding sugar sounds fancy, but let me tell you—it’s honestly pretty simple and kind of fun. If you love baking or decorating sweets, you know how amazing those little sparkly bits look on cookies, cupcakes, or cakes. The problem? Store-bought colored sanding sugar can get pricey and you’re stuck with whatever colors they stock. Why not make your own? You can whip up any color you want, in just a few minutes, right in your kitchen with stuff you probably already have. Let me walk you through how to do it without making it complicated.
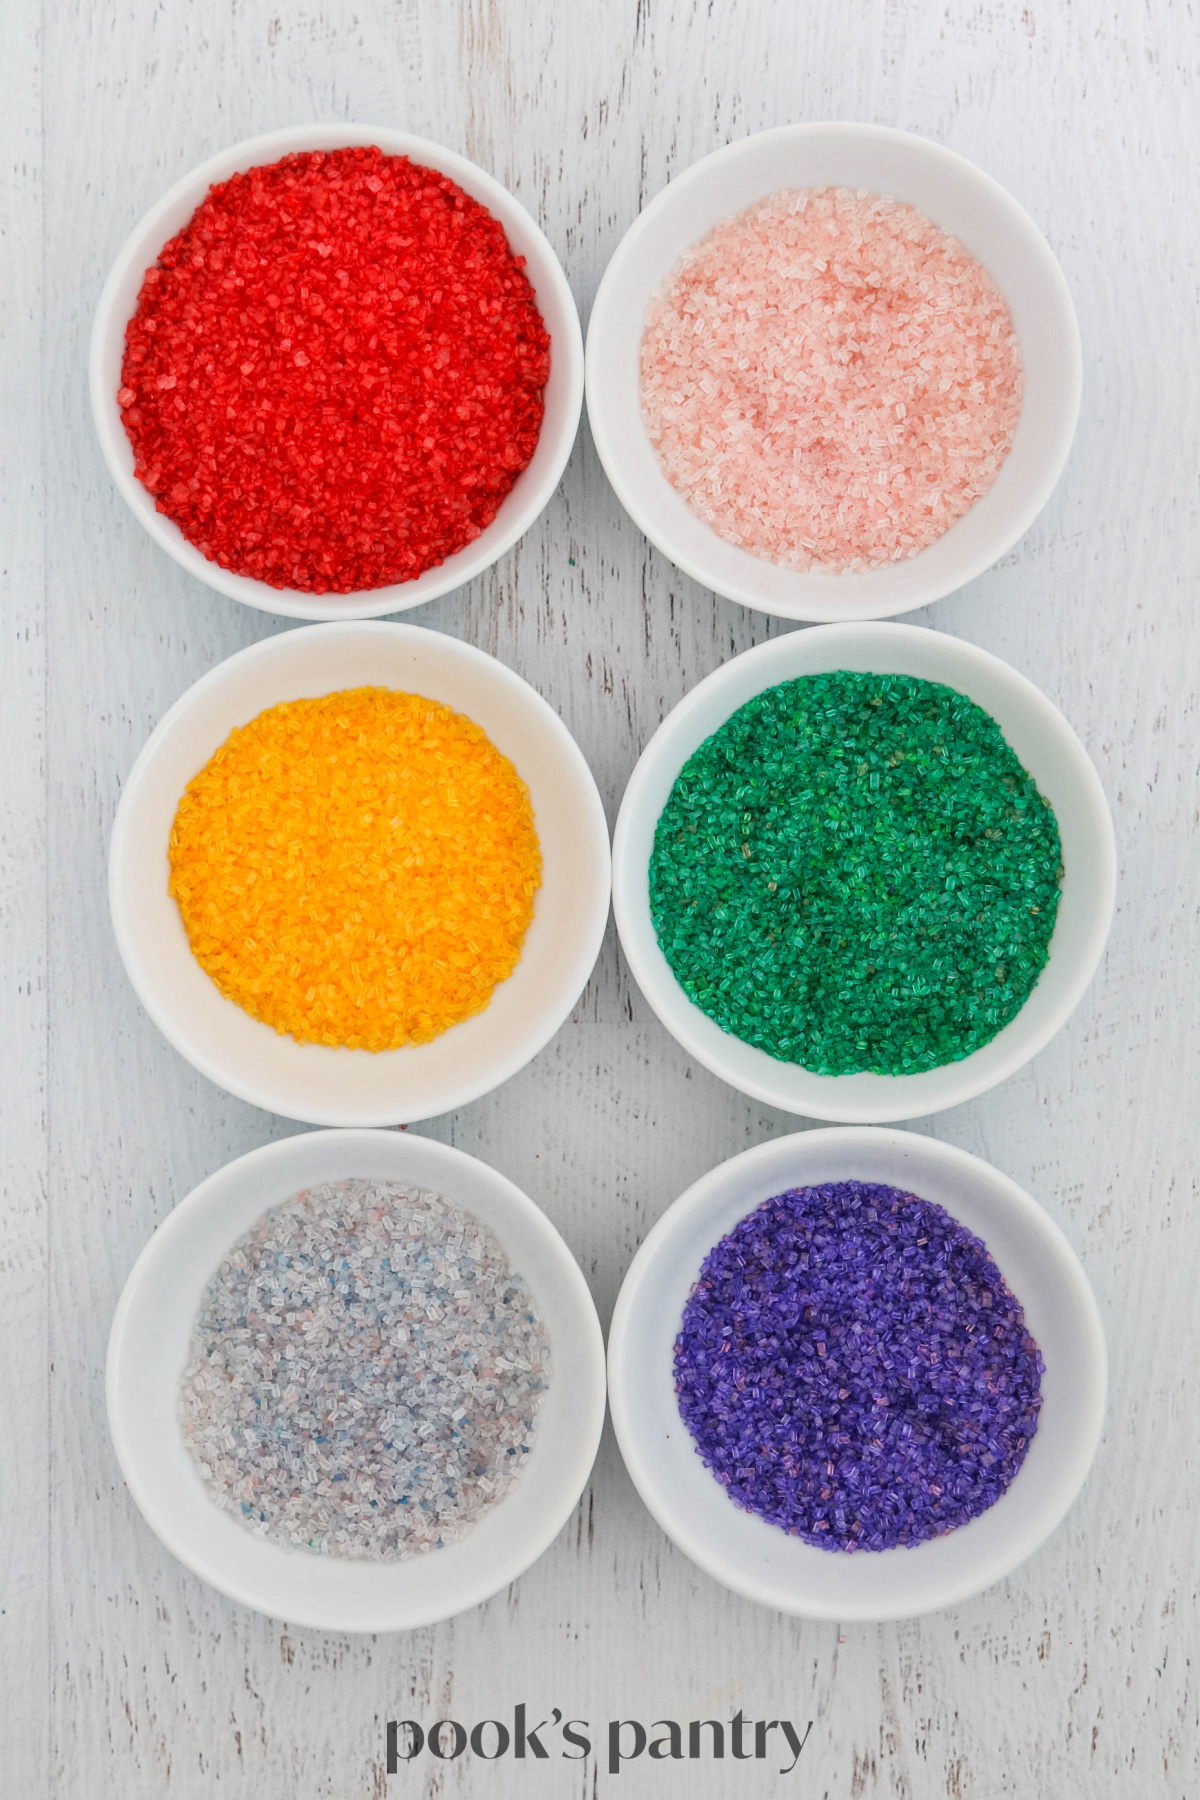
So, what exactly is sanding sugar anyway? It’s basically sugar with bigger crystals than regular granulated sugar, which means it sparkles more and holds up when baked. Unlike powdered sugar that melts away or granulated sugar that’s too fine, sanding sugar has this crunch and shimmer that just makes your baked goods look professional and extra pretty. These crystals reflect light in a way that makes your treats look almost magical—perfect for birthdays, holidays, or anytime you want to impress.
The magic duo here is sugar and color. That’s really all you need. Just regular white granulated sugar works great, though if you’re feeling adventurous, you can try coarser sugars like demerara or turbinado which give a rustic kind of sparkle. The real secret is using gel food coloring. Don’t be fooled by the cheap liquid food coloring—it adds too much moisture, which can make your sugar clump and lose that sparkle. Gel color is thick, super pigmented, and just the right consistency to coat your sugar crystals beautifully without making them sticky.
You’ll also want some handy tools: a sturdy Ziploc bag (one you don’t mind getting a little colorful), a cookie sheet lined with parchment paper or a silicone mat, a fine-mesh sieve, and an airtight container for when you’re done. Optionally, if you have one, a food processor can save time mixing, but honestly, the bag method works just fine and is less messy.
Here’s the lowdown in three easy steps:
Step 1: Mix the sugar with color
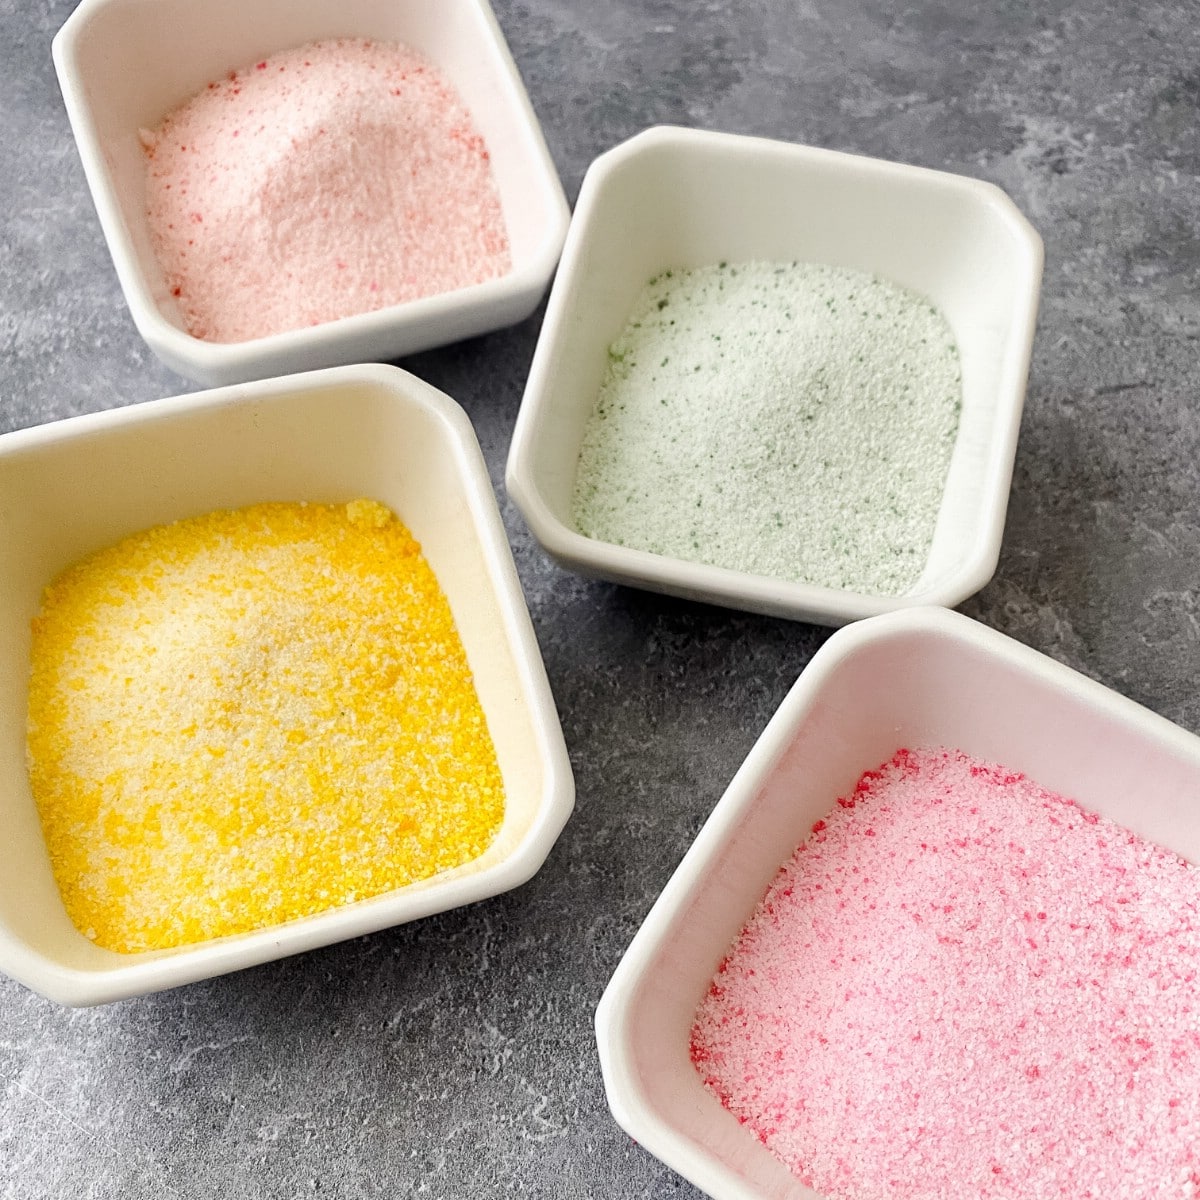
Start with about half a cup or up to a cup of sugar. Toss it into your Ziploc bag. Add one tiny drop of gel food color and seal it shut. Then squish and knead the bag with your hands like you’re mixing dough, making sure every sugar crystal gets a coating of color. Peek through the bag to check for patches—if it looks uneven, keep kneading. Want it brighter? Add another drop, seal it back up and knead some more. It’s like painting, but with sugar and your hands. Just remember, gel color is potent, so start small and build up. That way you don’t accidentally end up with shocking neon sugar!
Step 2: Dry your colored sugar
After your sugar is nicely colored, you need to dry it. This part is important unless you want a sticky mess. There are two ways:
Air drying: Just spread the sugar thin on your parchment-lined sheet and leave it to dry at room temp. This usually takes a few hours or overnight depending on humidity. It’s super easy, no oven required, but patience is needed.
Oven drying: If you want to speed things up, pop it in the oven at super low heat—about 250°F (120°C). But don’t spread it thin! Gather your colored sugar into a little mound. Keep a close eye and check every couple of minutes. You want the outside of crystals to dry and maybe melt just a tad to get that glossy sparkle—but not burned or fully melted. Oven drying takes about 5- minutes, but seriously, stay close and trust your eyes. Then let it cool completely.
Step 3: Sift and store
Once it’s dry and cool, you might notice some lumps. That’s normal. Use your sieve to shake out those clumps and keep only the nice, individual sugar crystals. Don’t pulverize it in a blender or food processor—that’ll turn it into fine sugar and you’ll lose the sparkle texture. Finally, pop it in an airtight container, and keep it somewhere cool and dry. This way, your homemade sanding sugar stays fresh and pretty for months (honestly, sometimes I forget I have it and it’s still perfect months later!).
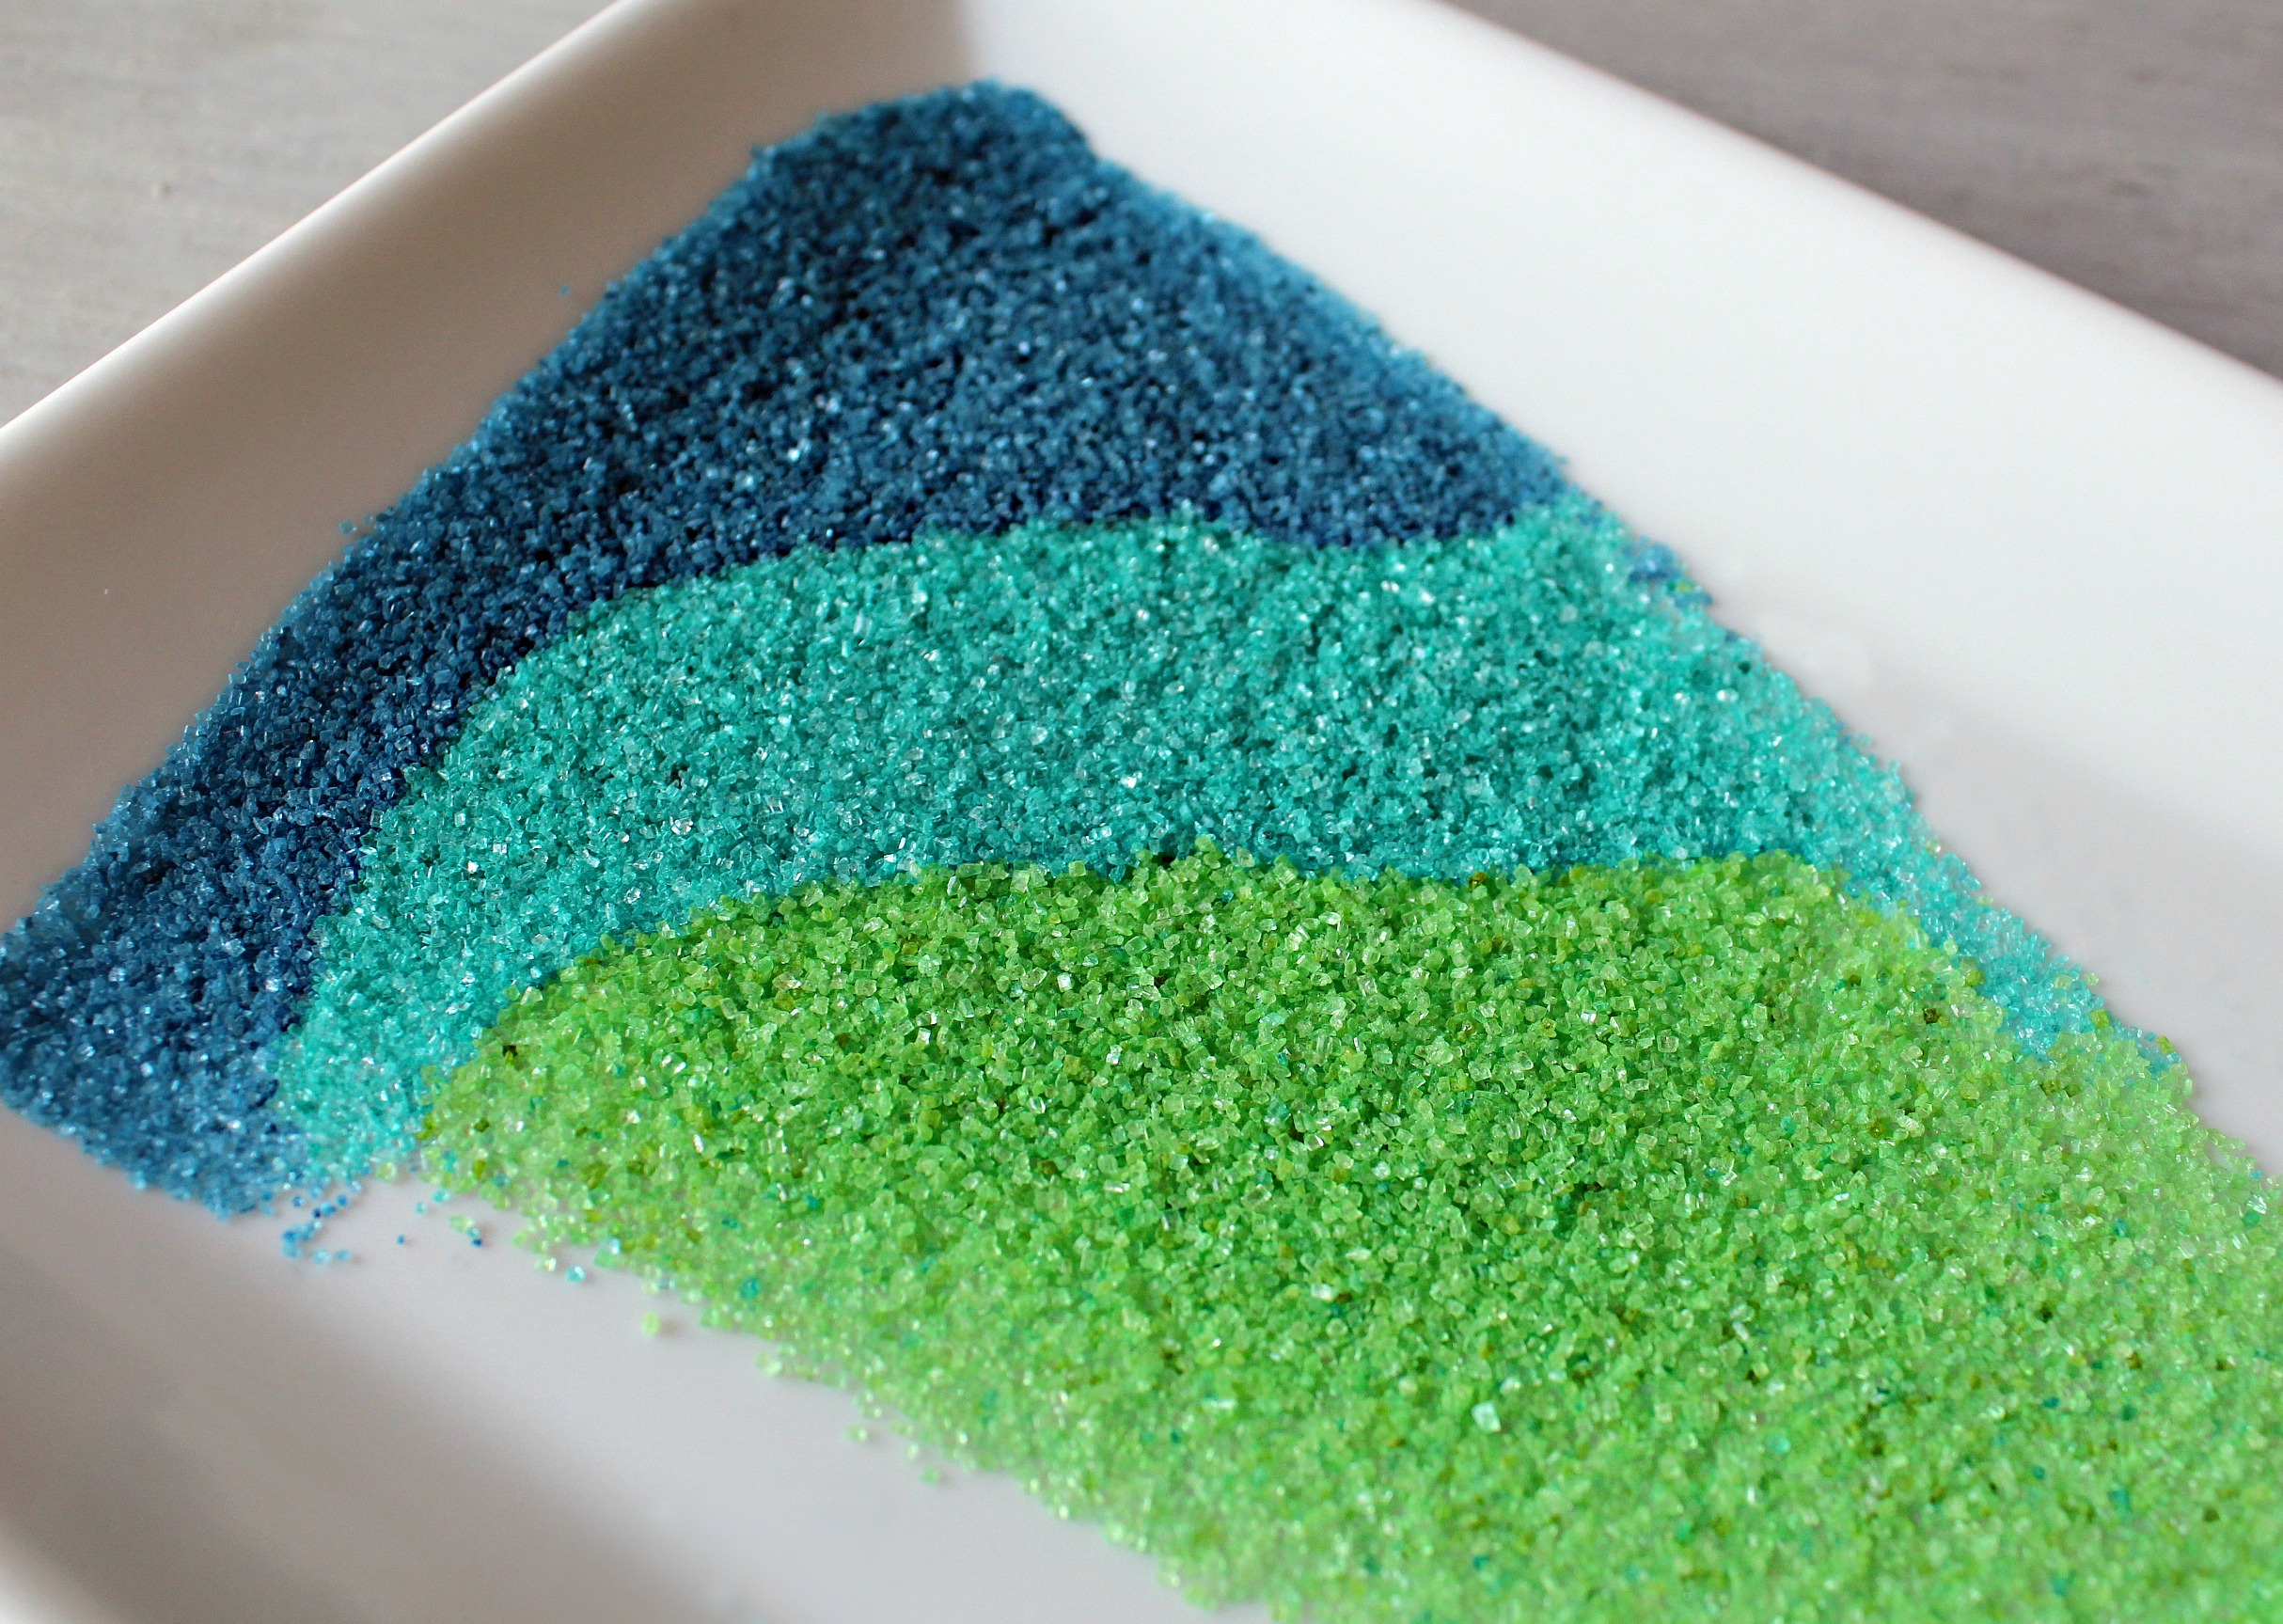
Okay, but what if I want more than just one color? Easy. Make separate small batches in different bags with different colors. If you mix colors, try doing so gradually—combine blues and yellows to get greens, for example. This little kitchen chemistry is fun and lets you personalize your decorations for any occasion.
Want to get fancy? You can even throw in tiny drops of oil-based flavor extracts (like lemon or vanilla) while coloring your sugar, but go easy—too much liquid can mess up the crystals.
Now, full disclosure, sometimes it doesn’t work perfectly on the first try:
- Sugar might get sticky if you add too much liquid color or don’t dry it enough. Just dry it longer or try less coloring next time.
- If the color is weak, add more gel color—slowly!
- Burned sugar in the oven? Probably too hot or too thinly spread. Keep that mound and stay close.
- Uneven color? More kneading is your friend.
And why bother making your own sanding sugar at home? Well, for starters—it saves a boatload of money, especially if you bake a lot or want a whole rainbow of colors. Plus, you can customize your exact shade, from pastel pinks for baby showers to bold reds for Christmas cookies. It’s way more fun than just grabbing whatever’s on the store shelf. Plus, you get the satisfaction of having made every detail yourself.
Where can you use all this gorgeous sparkly sugar? Almost anywhere! Sprinkle it on frosted cupcakes or cookies for that instant wow factor, roll edges of cookie dough in it before baking, rim a cocktail glass for a party, dust it on cakes for sparkle accents, or even use it on doughnuts and cake pops. The list goes on and on.
Just for good measure, here are some quick FAQs I get asked:
Q: Can I use liquid food coloring instead?
A: Technically yes, but this usually makes the sugar wet and clumpy. Gel coloring is the way to go.
Q: How long does homemade sanding sugar last?
A: Stored right—airtight, cool, dry—it can last months or even over a year.
Q: What’s the difference between sanding sugar and regular sugar?
A: Sanding sugar has bigger crystals and sparkles more, plus it holds its shape better when baked.
Q: Can I flavor my sanding sugar?
A: Yes, if you add flavor extracts that are oil-based, but only a drop or two to avoid messing with texture.
To wrap it up—making colored sanding sugar at home is one of those simple kitchen tricks that feels like magic. It’s cheap, quick (once you get the hang of it), and your baked goods instantly look and feel professional. So next time you’re whipping up treats, why not sprinkle a little homemade sparkle on top? Your friends and family will notice the difference, and you’ll have fun doing it.